Are you dealing with a broken garage door spring? This guide on how to fix a broken garage door spring will help you identify the issue, gather the right tools, and replace the spring step-by-step. Follow along to fix your garage door efficiently and safely.
Key Takeaways
- Garage door springs are essential for safe and efficient operation, with timely repairs preventing injuries and ensuring functionality.
- Understanding the types of springs—torsion and extension—is crucial for effective maintenance and proper spring replacement.
- Regular inspection and maintenance of garage door springs, alongside professional assistance when necessary, extend their lifespan and enhance overall safety.
Garage Door Springs: Components You Can’t Afford to Overlook
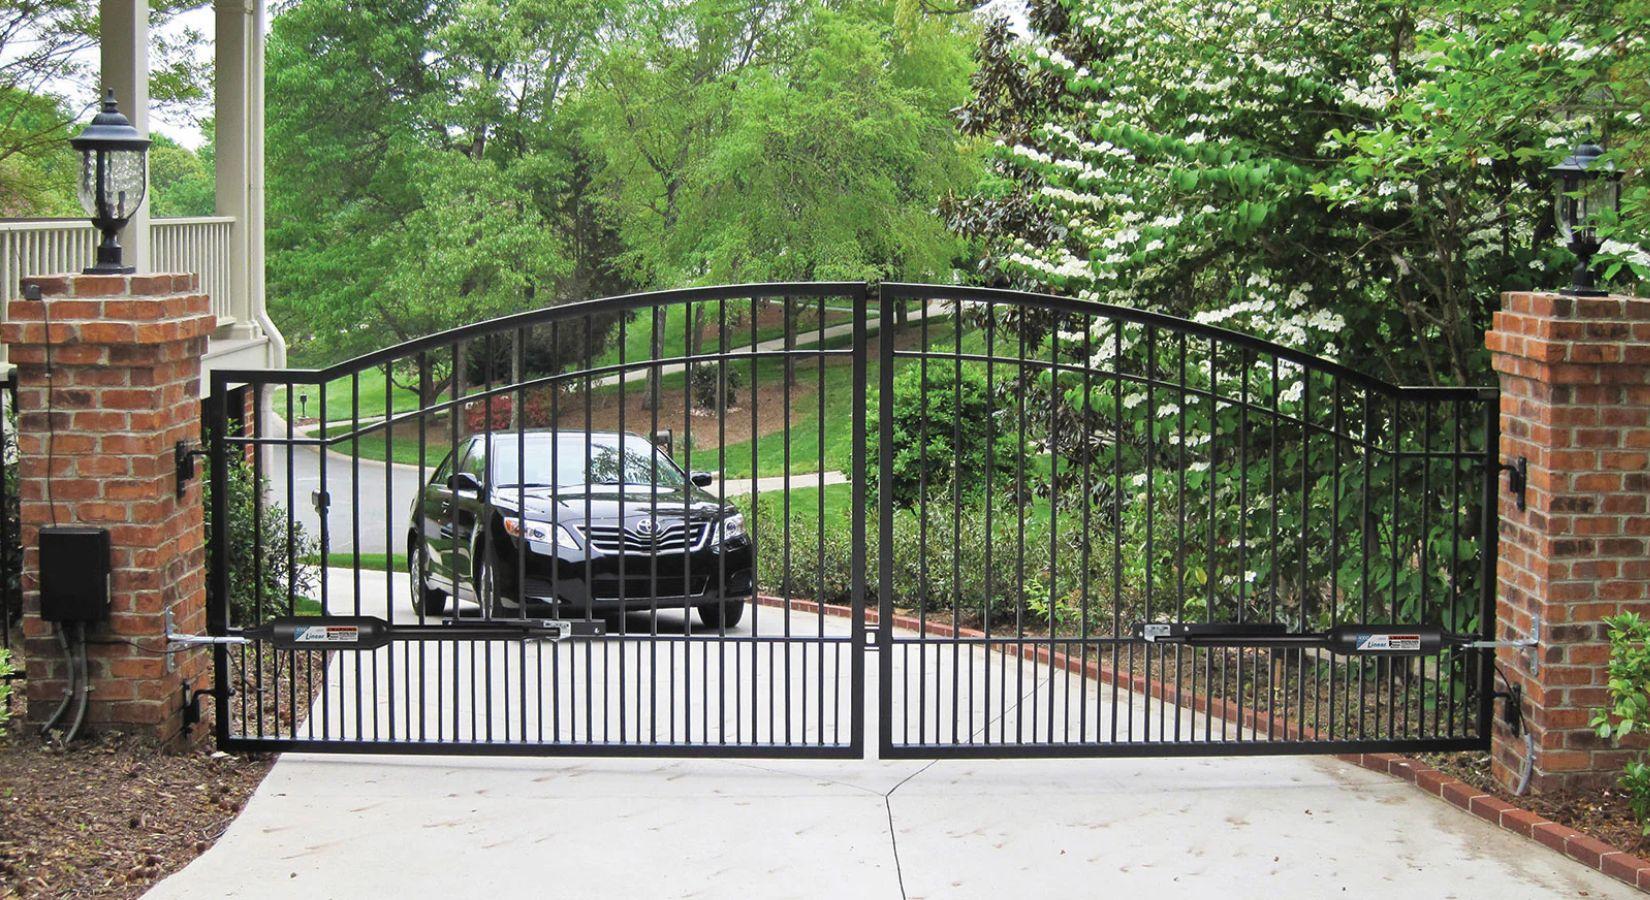
A properly functioning garage door is crucial for both your home’s security and your daily convenience. With regular use, garage doors can experience significant wear and tear, making spring damage a common concern. That’s why expert repairs are so important—they not only prolong the lifespan of your garage door but also enhance its performance, ensuring it remains a reliable part of your home.
Garage door springs play a vital role in counterbalancing the weight of heavy garage doors, allowing for smooth and effortless opening and closing. However, it’s essential to remember that these springs are not indestructible; they can wear out over time. If you notice any signs of wear or if a spring breaks, it’s crucial to replace it promptly. Doing so not only prevents potential injuries but also keeps your garage door functioning properly.

Types of Garage Door Springs
The two main types of garage door springs are torsion springs and extension springs.
Torsion Springs are located on a metal shaft above the door opening and operate by twisting to support the door’s weight. They are typically used for heavier doors and can range from one to four springs depending on the door’s size and weight; smaller doors often have just one torsion spring. Torsion springs require the use of winding bars, which must be at least ½ inch in diameter, to safely adjust their tension during installation or replacement.
Extension Springs, on the other hand, are found on either side of the door and expand to support the garage door’s weight. They work by stretching when the door is closed and contracting when the door is opened. Extension springs are usually color-coded to indicate their lifting capacity, which helps in identifying the appropriate replacement when necessary.
Each type of spring has unique applications and installation methods; understanding these differences is essential for effective maintenance and repair. Always purchase exact replacements from authorized suppliers to ensure compatibility, safety, and optimal performance.
How Garage Door Springs Work
Garage door springs provide the lifting force necessary for heavy garage doors. They play a critical role in counterbalancing the door’s weight, making it easier to open and close. The springs apply a twisting force that lifts the door, ensuring smooth and efficient operation.
Knowing how these springs work highlights the importance of timely maintenance and the risks of malfunctioning springs. Properly functioning springs ensure smooth, safe door operation, preventing unexpected failures and accidents.
Identifying a Broken Garage Door Spring
Early identification of a broken garage door spring prevents further damage and ensures safety. A broken spring can cause the door to open partially or slowly, leading to inconvenience and potential hazards. Recognizing these signs allows for timely repairs, and maintaining functionality and safety.
Visual Inspection Techniques
Taking the time to regularly inspect your garage door springs is essential for keeping your door functioning smoothly. Look for visible signs of wear, such as cracks or rust, as these can indicate potential problems. Keep an eye out for gaps in the spring—this could mean it’s broken, even if it’s not immediately obvious.
By conducting these simple visual inspections, you can catch issues early on and avoid unexpected garage door failures. Regularly checking your springs helps ensure they remain in good working condition and can save you from more extensive and costly repairs down the line. Remember, paying attention to these details now can make all the difference in the longevity of your garage door!
Symptoms of a Broken Spring
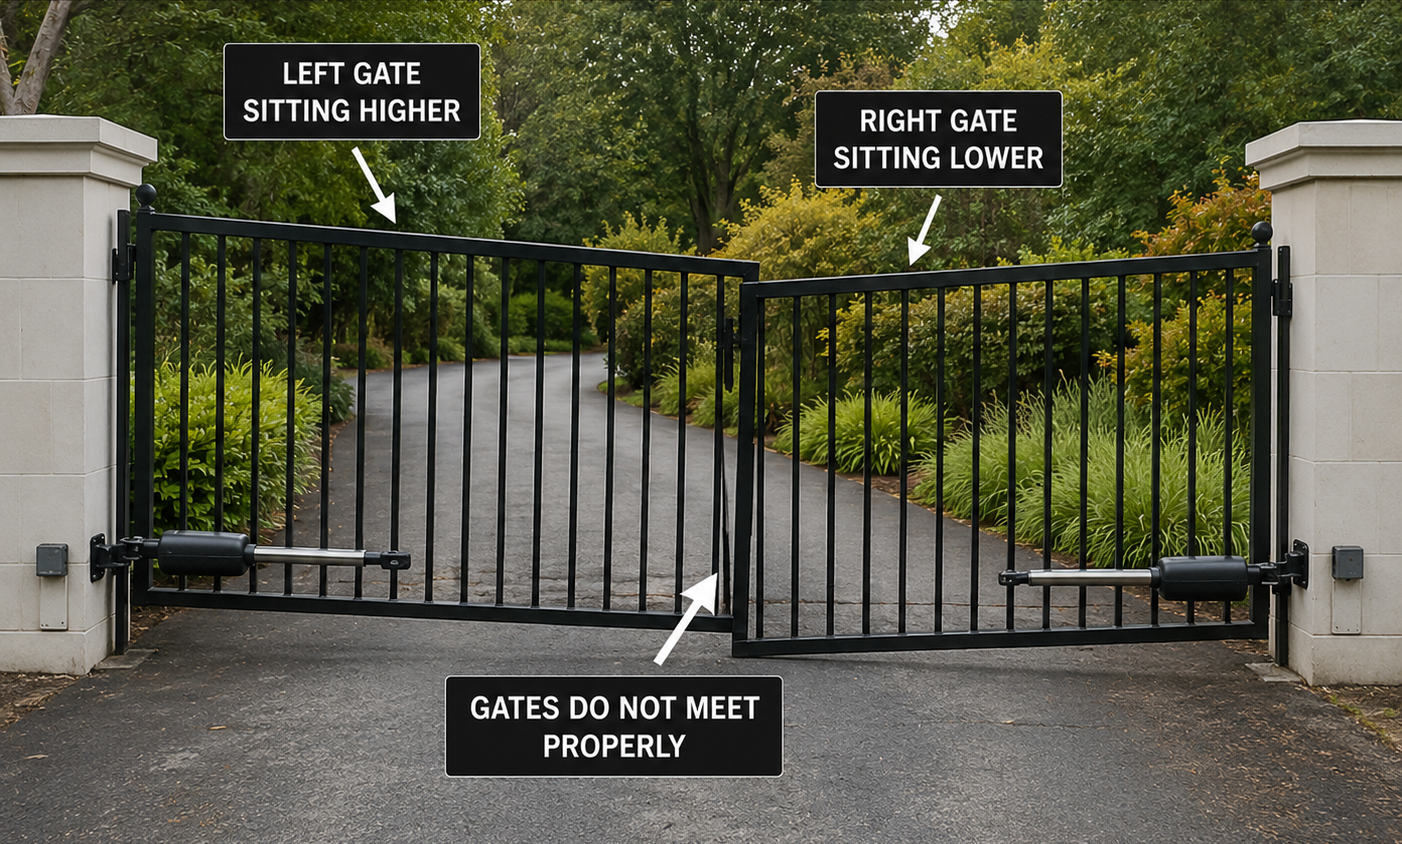
Are you having trouble opening your garage door or hearing unusual noises? These could be common signs that your garage door springs are failing. If you notice the door jerking or operating unevenly, it may be a sign that a spring has broken and caused the door to become unbalanced. It’s crucial to address these symptoms promptly to avoid further damage.
Operating a garage door with broken springs can be dangerous. Forcing it open can lead to misalignment, causing the door to bend or warp and resulting in more extensive repairs down the line. If you suspect that your garage door springs need replacing, it’s wise to consult a professional who can assess the situation safely.
By recognizing these symptoms early, you can ensure timely spring replacement and keep your garage door functioning smoothly and safely. Don’t wait until a small issue becomes a bigger problem!
Safety Precautions Before Attempting Repairs
Before you dive into repairing your garage door springs, let’s talk about safety—it’s absolutely essential! These springs are under high tension and can cause serious injuries if not handled correctly. So, take a moment to evaluate your own safety and DIY experience. Are you confident in your skills, or do you feel a bit uncertain?
If there’s any doubt, it’s always best to call in a professional. WEAGA has the expertise to handle repairs safely and effectively, giving you peace of mind while ensuring that the job is done right. Remember, your safety should always come first!

Tools and Protective Gear Needed
When it comes to replacing garage door springs, safety should be your top priority! Because of the dangerous tension involved, you’ll need specific tools and protective gear to get the job done right. Make sure you have essential tools like winding bars, locking pliers, and a sturdy ladder to keep you stable while you work.
Don’t forget to gear up! Wearing gloves and safety goggles is a must to protect yourself from potential injuries. Having the right tools and protective equipment not only enhances your safety but also boosts the chances of a successful repair. So, equip yourself properly before you get started!
Disable the Garage Door Opener
Before you begin any repairs, unplug the garage door opener. It’s a simple step that makes a world of difference in keeping you safe. Once that’s done, manually pull the emergency release cord to disengage the opener, and be sure to clamp the door to the track to prevent any unexpected movement.
Disabling the garage door opener is crucial—it ensures that nothing will shift while you’re working, giving you the peace of mind to focus on the task at hand.
Step-by-Step Guide to Replacing Torsion Springs
Replacing torsion springs might seem daunting, but with a little patience and attention to detail, you can do it safely and effectively. Let’s walk through the process together, step by step.
Secure the Garage Door
Before you begin the repair, you must secure the garage door. Clamp locking pliers or a C-clamp to the track above a roller. This will prevent any movement while you’re working, keeping the door stable and reducing the risk of accidental falls or injuries.
Remember, securing the torsion tube with locking pliers or a C-clamp is vital. It ensures that the spring won’t lift unexpectedly, allowing you to proceed with the repair confidently.
Remove the Old Spring
Start by identifying the wind direction of the spring: does the endpoint up on the right (right-hand wind) or left (left-hand wind)? If your door has two springs, you’ll have one on each side.
Using a winding bar, hold the spring steady while you loosen the setscrews to manage its tension. Be sure to loosen the setscrews on both the left and right lift cable drums before disconnecting the lift cables. You’ll also need to remove any components, such as cables and cable drums attached to the torsion spring.
Once everything is loose, carefully slide the torsion tube to the right to remove the cable drum and detach the spring.
Install the New Torsion Spring
With the old spring out of the way, it’s time to install the new torsion spring. Start by sliding it onto the torsion tube, then reinstall the cable drum and the centre bearing.
Make sure to turn them in the opposite direction of unwinding, and pay attention to the number of turns needed based on your door’s size. Insert the winding bar into the cone and wind toward the ceiling, turning the spring a quarter turn at a time. Always keep a bar in the winding cone to ensure safety.
Once you’ve stretched the springs about 1/4 inch, tighten the setscrews until they make contact with the torsion tube. It’s crucial to set the tension on the torsion spring evenly on both sides to prevent uneven door opening. Adjust the number of turns according to your door height, and you’ll ensure smooth and safe operation after your repair is complete.
Step-by-Step Guide to Replacing Extension Springs
Replacing extension garage door springs is considered safer than torsion springs.

Prepare the Garage Door
Before you start, unplug or disconnect the garage door opener to prevent any unexpected movements. Secure the door in the closed position by placing locking pliers on the tracks. This will help keep everything stable while you work.
Clear the workspace around the door by removing any items that might get in the way. You’ll also want to gather your essential tools, including a socket wrench, safety goggles, and gloves. Having everything ready will make your repair process much smoother and safer.
Remove the Damaged Extension Spring
To tackle the broken spring, begin by detaching the end of the spring to ensure stability.
Once you’ve detached the spring, double-check that all components are removed. Handle the old spring with care, and keep the garage door stable throughout the removal to prevent sudden movements that could cause damage or injury.
Install the New Extension Spring
Start the installation by running the cables straight up between the rollers and the doorjamb. Slide the lift cable stop through the drum slot, ensuring that the wire from the pulley stays clear of the safety cable so that everything functions properly.
Before you remove the pulley, use some tape to mark its position. This will help ensure correct reinstallation later on. Once you have the replacement spring, thread the safety cable through and attach it to the track bracket.
Once the new spring is securely in place, remove the clamps and reconnect the garage door opener. Take a moment to ensure everything is functioning correctly before you call it a day. Your garage door should be good to go with the new spring in action!
Post-Repair Checks and Maintenance
Regular maintenance prevents unexpected failures in garage door springs. Post-repair checks ensure reliable and smooth operation. This includes testing the door, lubricating the springs, and following maintenance tips to extend the spring lifespan.
Test the Garage Door
Manually lift the garage door to waist height to confirm proper balance; it should remain in place. If unsteady or falling, recalibrate the springs for safety. Ensure the extension springs do not touch stationary pulleys after installation. Keeping the door track clean is essential for smooth operation and spring longevity.
These tests identify any spring installation issues, ensuring safe and efficient door operation. Regular testing prevents larger problems and keeps the door functional.
Lubricate the Springs
Using high-quality garage door lubricant designed for garage door springs enhances performance. Proper lubrication reduces friction and extends the spring’s lifespan.
Lubricate the springs twice a year for optimal performance.
Regular Maintenance Tips
The average lifespan of garage door springs is 7 to 9 years, with standard torsion springs lasting about 7,000 to 10,000 cycles. However, use, aging, corrosion, and wear can cause springs to break. For balanced operation, it is recommended that both extension springs be replaced simultaneously.
Regular checks and maintenance significantly extend the lifespan of your garage door springs and ensure smooth operation. Following these tips prevents unexpected failures and costly repairs.
Professional Help vs. DIY Repairs
When it comes to garage door spring repairs, deciding between doing it yourself or hiring a professional is key. While a DIY approach might save you some money on labour, the risks—such as potential injury or improper installation—often make professional help the safer and more effective option.
Benefits of Hiring a Professional
Replacing a broken garage door spring isn’t your typical weekend DIY project. In fact, it’s one of those tasks where calling in a professional is often the smartest move. Torsion springs, in particular, are tricky to replace and should only be handled by skilled professionals with the right tools and experience to do the job safely and correctly.
If you’re thinking about doing it yourself, remember that garage door spring replacement comes with some serious safety concerns. Professionals not only have the knowledge but also the necessary tools to tackle the job.
When to Call a Professional
Attempting further adjustments on your own could cause more harm than good.
Whenever your garage door isn’t working smoothly after a spring replacement, don’t hesitate to reach out to a professional. They can resolve the issue quickly and ensure everything is functioning properly, giving you peace of mind.
Why Choose WEAGA for Your Garage Door Repairs?
When it comes to garage door spring repairs, trust the experts at WEAGA. With over a decade of hands-on experience in the industry, we have mastered the art of repairing and replacing garage door springs efficiently and safely. Our team of certified technicians is fully trained to handle both torsion and extension spring systems, ensuring the highest level of precision and care in every job we undertake.
At WEAGA, we prioritize your safety and satisfaction above all else. Licensed, bonded, and insured, we offer peace of mind knowing that your home is in the hands of professionals who meet the industry’s highest standards. We use only top-quality materials and tools, guaranteeing long-lasting results that keep your garage door functioning smoothly for years to come. Our expertise allows us to quickly identify and resolve issues, minimizing downtime and preventing costly future repairs.
Don’t compromise when it comes to your garage door’s safety and performance—contact WEAGA today for reliable, expert repairs you can count on. With our 24/7 emergency services, we’re always here to help when you need us most. Call now or visit our website to schedule your repair and experience the WEAGA difference.
Frequently Asked Questions
What are the signs of broken garage door springs?
Signs of broken garage door springs include the door not opening or closing properly, unusual noises during operation, or the door appearing unbalanced. If you notice the door jerking or struggling to move, it’s likely a sign that one or more springs may be broken.
How do I safely replace a broken torsion spring on my garage door?
To safely replace a broken torsion spring, first secure the garage door with locking pliers to prevent movement. Then, use a winding bar to carefully loosen the setscrews on the old spring. Remove the old spring and install the new one by winding it correctly and ensuring both sides have equal tension. If you’re unsure, it’s best to consult a professional for safety.
Is it safe to replace garage door springs myself?
It is generally not safe to replace garage door springs yourself due to the high tension and associated risks. Hiring a professional is the safer choice to ensure the job is done properly and without injury.
Conclusion
Garage door spring repair is essential for maintaining your garage door’s functionality and safety. Understanding the types of springs, how they work, and the process of replacing them ensures that you can handle minor repairs or know when to call a professional. Regular maintenance and timely repairs prevent unexpected failures and extend the lifespan of your garage door springs. Follow this guide to ensure your garage door operates smoothly and safely.
WEAGA is here for you. Our experienced, certified technicians are ready to provide you with top-quality repairs at an unbeatable price. Contact us today to schedule your service and take advantage of this fantastic offer!